Key Takeaways
-
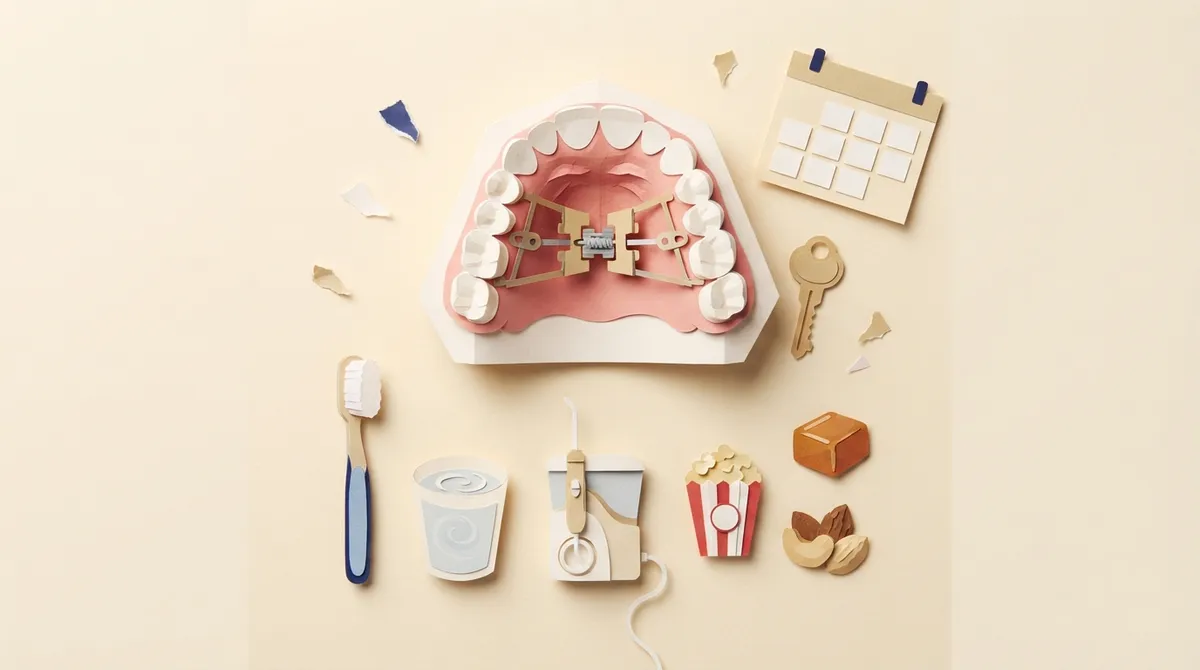
Follow your orthodontist's exact activation schedule and only turn the expander screw when instructed; never add, skip, or reverse turns without professional guidance.
-
Brush at least twice daily and after meals, focusing on the metal bands, the gumline beside each band, and the screw, using a soft brush and gentle technique.
-
Avoid hard, sticky, and chewy foods like ice, nuts, popcorn, gum, and caramel, which can bend, loosen, or get stuck in the appliance.
-
Rinse vigorously with water after eating and use a water flosser or small interdental brush to clear food from under the appliance; avoid sharp objects like toothpicks.
-
Never force a stuck key or try to repair a loose or damaged appliance yourself; call your orthodontic office promptly instead.
-
Mild soreness, extra saliva, slight lisp, and a gap between the front teeth are common early on, but severe or persistent pain should be reported to your orthodontist.
If your child just got a palatal expander, you might feel a little nervous about what comes next. That is completely normal! The good news is that an expander care routine is simpler than most families expect. It comes down to four easy habits: keeping everything clean, turning the screw only when your orthodontist tells you to, picking safe foods, and watching for problems.
Think of an expander like a tiny construction project inside the mouth. It works quietly behind the scenes to make room for growing teeth, and it does its best work when it gets a little daily attention. A few minutes each day can keep the appliance comfortable, keep teeth healthy, and keep treatment moving on schedule.
In this friendly guide, we will walk through what an expander care routine involves, from brushing to activation to snack choices. Whether you are a parent, a teen, or an adult starting treatment, you will find practical tips you can use right away. One important note: every appliance and treatment plan is different, so your orthodontist’s instructions always come first.
What an Expander Care Routine Involves at a Glance
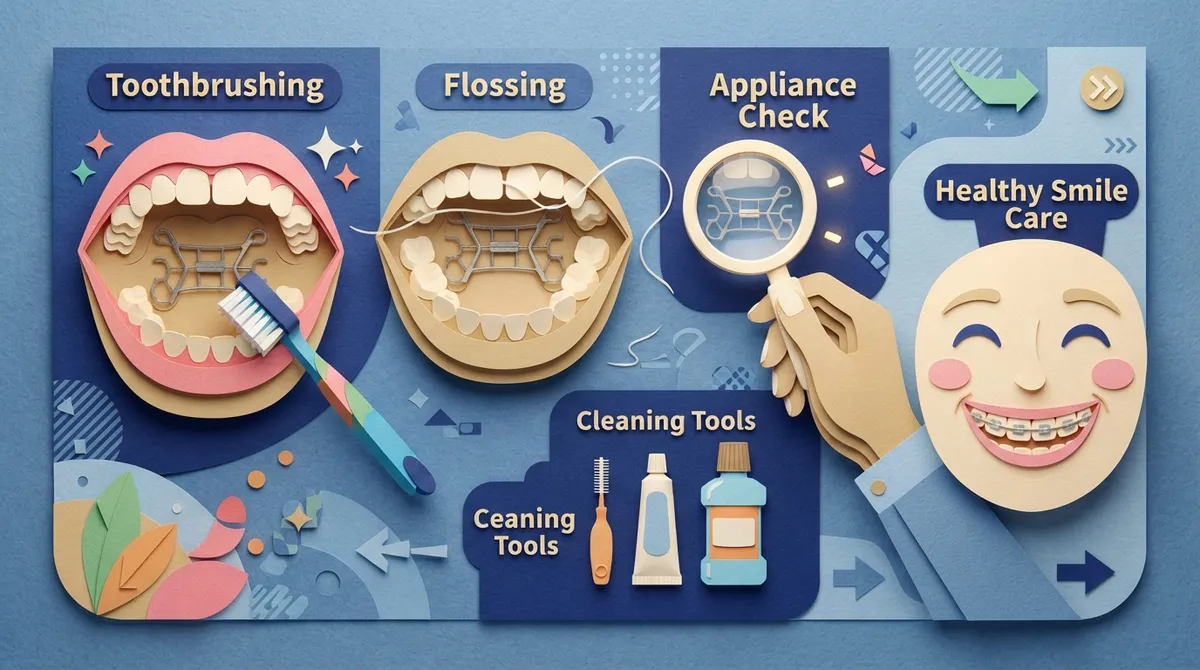
An expander care routine usually has four parts. Each one supports the others, and none of them takes much time once it becomes a habit.
- Daily cleaning: Brush the teeth and the appliance carefully, and rinse after meals.
- Activation: Turn the screw only if your orthodontist has told you to, using the exact steps they taught you.
- Smart eating: Choose foods that will not bend, break, or loosen the appliance.
- Monitoring: Watch for loose parts, soreness that will not settle, or anything that seems off.
Keep in mind that instructions vary by appliance type and treatment plan. The routine below is a general guide. Your orthodontist’s directions always take precedence over anything you read online.
First, What Is a Palatal Expander?
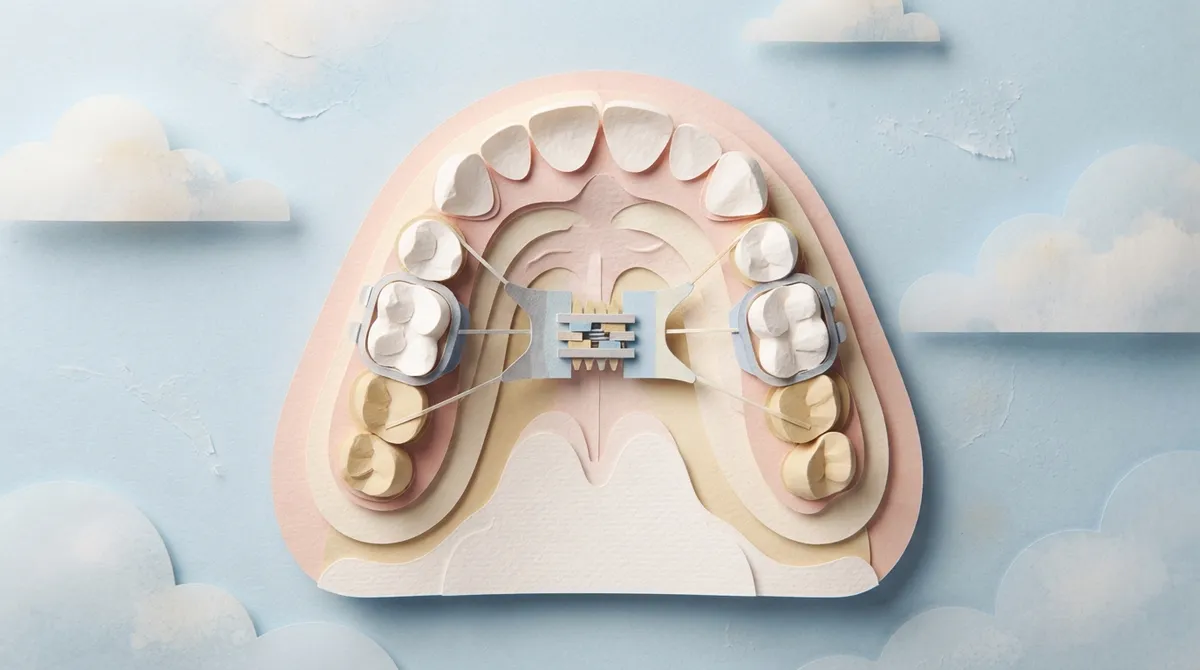
A palatal expander is an orthodontic appliance that gently widens the upper jaw. It is often used to fix a crossbite or to create room when teeth are crowded. Many children and teens wear a fixed version, which is attached to the upper back teeth with small metal bands. A tiny screw sits in the middle of the appliance, near the roof of the mouth.
Dr. Brockway often recommends expanders as part of early treatment, since a child’s jaw is still growing and responds well to gentle guidance. If you want to learn more about how the appliance works, our palatal expander guide is a great place to start. You can also read about crossbite treatment to see why expansion is often part of the plan.
Step One: Daily Cleaning for Teeth and Appliance
Cleaning is the heart of any expander care routine. Food can collect around the bands, along the gumline, and under the appliance. If it stays there, it can lead to bad breath, sore gums, and cavities. Luckily, a good routine keeps all of that in check.
How Often Should You Brush With an Expander?
Brush at least twice a day, and after meals when you can. Use a soft toothbrush and take your time. Rushing is the number one reason food gets left behind.
Pay special attention to these spots:
- The metal bands around the back teeth
- The gumline next to each band
- The screw in the center of the appliance
- The space between the appliance and the roof of the mouth
Simple Steps for Cleaning a Palate Expander
- Rinse with water first to loosen big pieces of food.
- Brush every tooth surface with a soft toothbrush, angling the bristles toward the gumline.
- Gently brush the bands and the metal parts of the appliance.
- Use a small interdental brush or a water flosser to clear food from tight spots.
- Floss between teeth. A floss threader can help you reach around the appliance.
- Finish with a thorough water rinse.
Be gentle with every tool. Pushing hard on the appliance will not make it cleaner, and it could loosen it. If a tool feels like it is catching or pulling, stop and ask your orthodontic team for a demonstration.
What If You Cannot Brush After a Meal?
Life happens, especially at school or on the go. If you cannot brush, swish and swallow water vigorously to rinse out the mouth. This is not a replacement for brushing, but it helps a lot until you can get to a sink. Families who want to build good habits together may enjoy our post on how parents can help kids build appliance care habits.
Step Two: Turning the Expander the Right Way
Many expanders have a screw that is turned with a small key. This is how the appliance slowly widens the jaw. Here is the most important rule: only turn the expander if your orthodontist tells you to, and follow their exact schedule.
Some families hear that one or two turns a day is common. That may be true for some plans, but it is not a universal rule. Your orthodontist will give you a schedule built for your child’s needs.
How Do You Turn an Orthodontic Expander With a Key?
For common screw-type palatal expanders, the general idea looks like this. Your orthodontist will show you the exact technique, so treat this as a refresher and not a replacement.
- Wash your hands and make sure the key is clean.
- Have the patient tilt their head back so you can see the appliance clearly.
- Insert the key into the designated hole in the screw.
- Push the key toward the back of the mouth, in the direction your orthodontist showed you, until the next hole appears.
- Remove the key and check that the next hole is visible.
- Keep the key attached to a string or loop so it cannot slip down the throat.
Do not add turns, skip turns, or reverse the direction without professional guidance. Doing so can slow progress or cause discomfort.
What If the Key Will Not Turn?
If the key will not turn, do not force it. Pushing harder can damage the appliance or hurt the patient. Call the orthodontic office right away and let them know what happened. They can guide you through the next step or bring you in for a quick visit.
Step Three: Choosing Foods That Protect the Appliance
Fixed expanders are tough, but they are not made for crunchy or sticky snacks. Hard and chewy foods can bend or loosen the appliance, which means extra visits and delays. The right food choices keep things on track.
| Foods to Avoid | Why They Cause Trouble | Safer Choices |
|---|---|---|
| Ice, hard candy | Can bend or break parts | Soft fruit, yogurt |
| Nuts, popcorn | Can loosen the appliance or get stuck | Soft cheese, smoothies |
| Gum, caramel, taffy | Sticks to the appliance and pulls on it | Pudding, applesauce |
| Very chewy bread or bagels | Hard to chew and tough to clean afterward | Soft rolls, pasta |
Food can also collect under the appliance, so rinse well after every meal. If you need ideas, take a peek at our list of friendly food ideas for orthodontic patients and our soft foods for the first week. Many of these meals work well for expanders too.
How Do You Get Food Out From Under a Palate Expander?
This is one of the most common questions families ask. A few gentle options usually do the trick:
- Swish water hard around the mouth.
- Use a water flosser on a low setting, aiming under and around the appliance.
- Try a small interdental brush to sweep the area clean.
Avoid using sharp objects like toothpicks or pins. They can scratch the mouth or damage the appliance.
Step Four: Knowing What Feels Normal
Every new appliance takes a little getting used to. Here are some common experiences in the first days and weeks:
- Pressure or mild soreness: The teeth and jaw are adjusting. Soreness is often strongest after a turn.
- Extra saliva: The mouth thinks the appliance is food at first. This usually settles down.
- Speech changes: A slight lisp is common early on. Reading aloud can help the tongue adapt.
- Chewing and swallowing feel odd: Softer foods help while the mouth adjusts.
- A gap between the front teeth: This can show up as the upper jaw widens and is often a sign the appliance is doing its job. Your orthodontist can explain what to expect in your case.
Persistent or severe symptoms should always be shared with your orthodontic office. If you are curious about discomfort in general, our post on truths about braces pain offers helpful perspective.
When to Call Your Orthodontist
Part of a good expander care routine is knowing when to ask for help. Please reach out to the office if any of these happen:
- The appliance feels loose or a band comes off a tooth
- A part looks bent, broken, or damaged
- A turn cannot be completed as instructed
- Pain is severe or does not improve
- Gums look very swollen or sore around a band
Please do not try to repair or force the appliance yourself. A quick call is always better than a home fix that causes new problems. Our guide on when you need an emergency orthodontist appointment can help you decide how urgent a situation is.
Making the Routine Easy for Kids and Teens
Kids and teens do best when care feels simple and predictable. A few tricks can make the routine stick:
- Link care to existing habits: Brush and rinse right after breakfast and right before bed.
- Use a checklist: A small chart on the bathroom mirror can track turns and brushing.
- Keep a travel kit: Pack a soft toothbrush, interdental brush, and travel-size toothpaste for school. Our guide to packing an orthodontic care kit has more ideas.
- Celebrate small wins: A high five after a week of great brushing goes a long way!
Parents often play the biggest role in keeping the routine going, especially with younger children. Teens can take on more responsibility over time, with a gentle check-in now and then. Teens may also like our questions teens should ask their orthodontist.
Adults and Expanders: Yes, It Happens Too
Expanders are not just for kids. Some adults use expansion appliances as part of a larger plan, and the same daily habits apply. Careful cleaning, following turn instructions, and avoiding sticky foods all matter just as much. If you are an adult exploring this path, you may find our article on jaw expanders for adults helpful.
Why Regular Checkups Matter
Even with perfect home care, expander treatment works best with regular visits. Your orthodontist checks that the appliance is secure, confirms that progress is on track, and adjusts the plan if needed. Skipping visits can let small issues grow into bigger ones. To see why these appointments are worth it, read why orthodontic checkups matter so much.
For general guidance on oral health, the American Dental Association is a trusted resource that families can use alongside their orthodontist’s advice.
Care Tips at a Glance
| Habit | How Often | Quick Tip |
|---|---|---|
| Brush teeth and appliance | At least twice daily and after meals when possible | Use a soft brush and focus on bands and gumline |
| Rinse with water | After eating | Swish hard to clear food from under the appliance |
| Floss or use interdental brush | Daily | A floss threader helps around the appliance |
| Turn the screw | Only as instructed | Follow your orthodontist’s exact steps |
| Check for damage | Daily | Call the office if anything feels loose |
Your Care Plan Starts With a Conversation
An expander care routine really is a team effort. You handle the daily habits, and your orthodontist guides the plan and keeps everything safe. At Brockway Orthodontics, Dr. Brockway takes time to explain every step in a friendly, easy-to-understand way, so you always know what to expect. We use modern tools like digital impressions and 3D imaging to plan treatment carefully, and we welcome patients of all ages. If you want to see what our families say, visit our Brockway Orthodontics page on Google to read reviews.
Remember, you do not have to figure this out alone. If you have questions about your child’s expander, or you are wondering whether an expander might be right for you, we would love to help. Book an appointment online to talk with our team, or contact us with any questions. Here is to healthy habits and a smile everyone feels proud of!
FAQs
Q: How do you clean a palate expander?
A: Brush your teeth and the appliance gently with a soft toothbrush at least twice a day, paying close attention to the bands, gumline, and screw. A water flosser or small interdental brush can help clear food from tight spots. Finish with a good water rinse, and always follow your orthodontist’s advice.
Q: What foods should you avoid with a palate expander?
A: Skip hard, sticky, and very chewy foods like ice, hard candy, nuts, gum, caramel, and taffy. These can bend or loosen the appliance. Soft foods like yogurt, pasta, and soft fruit are much friendlier choices.
Q: Is soreness or a gap between the front teeth normal with an expander?
A: Yes, mild soreness and pressure are common as the mouth adjusts, and a gap between the front teeth can appear as the upper jaw widens. If soreness is severe or does not settle down, let your orthodontic office know so they can check things out.
Q: When should you call the orthodontist about an expander?
A: Call if the appliance feels loose or damaged, a turn cannot be completed as instructed, or pain is severe or lasting. Please do not try to fix or force the appliance yourself, since a quick call can prevent bigger problems.
Q: What should you do if an expander key will not turn?
A: Do not force it, since that can damage the appliance or cause pain. Stop and call your orthodontic office right away so the team can guide you or schedule a quick visit.
Our Service Area